Kitchen Exhaust Cleaning Company
|
The air quality in the kitchen may grow noticeably worse if the hood is clogged, and the accumulation of grease and oil may become extremely flammable, creating potential fire hazards.
In addition, there may be problems with hygiene-related issues as a result of unpleasant aromas and excessive smoke brought on by a buildup of grease and oils. It is possible that you are in violation of local regulations that regulate food safety standards and local health codes if you do not do routine maintenance on your equipment. Cooking grease and smoke can cause grit and grime to build up on practically every surface if there is not an adequate mechanism for cleaning the kitchen exhaust hood. In order to keep the air circulation in your kitchen at a high level of quality, you need to clean your exhaust on a regular basis. Careful ventilation control provides a clean workplace for employees. You can extend the life of the exhaust fan that has accumulated grease by cleaning it regularly. |
|
Exhaust System
|
We provide a comprehensive cleaning service for your exhaust system. Our service technicians at our company provide the highest level of service available for the cleaning of the exhaust at your restaurant. No one else comes close. Contacting us right away for your no-cost consultation will allow us to demonstrate everything that we are capable of achieving for you.
|
Kitchen Exhaust SystemOur company provides commercial kitchen exhaust system cleaning services to local companies and restaurants in the city as well as in the districts surrounding it. If you run a commercial kitchen, you are well aware of the significance of regularly cleaning the kitchen exhaust. We will make sure that all of the inspections go well and that your kitchen complies with NFPA 96 standards. We are fully PAC certified and able to do even the most challenging tasks.
|
Kitchen Hood Cleaning
|
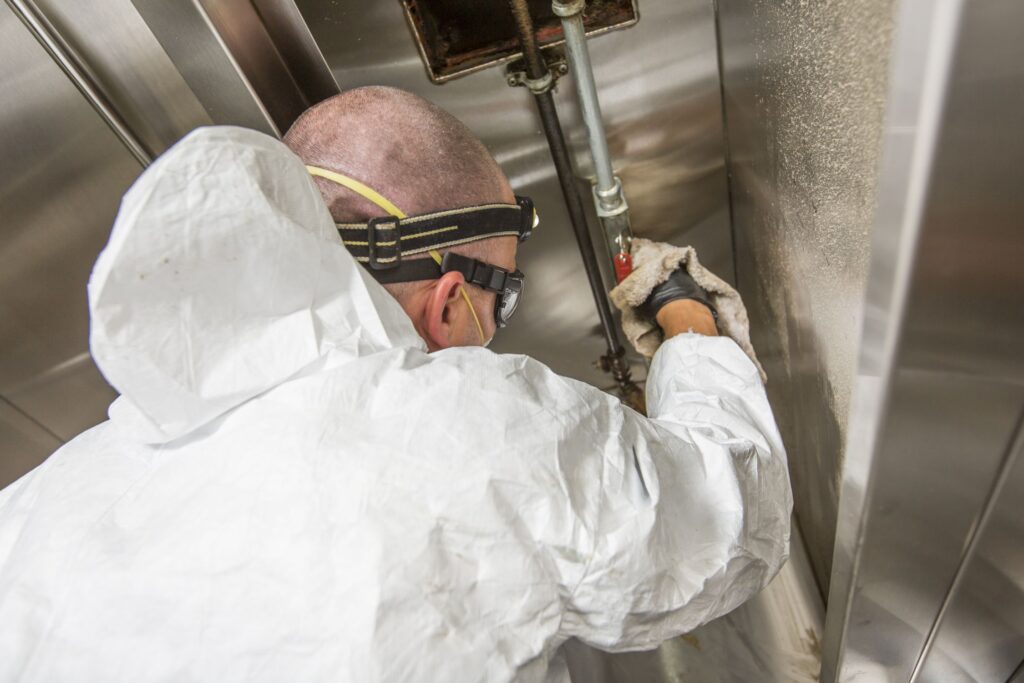
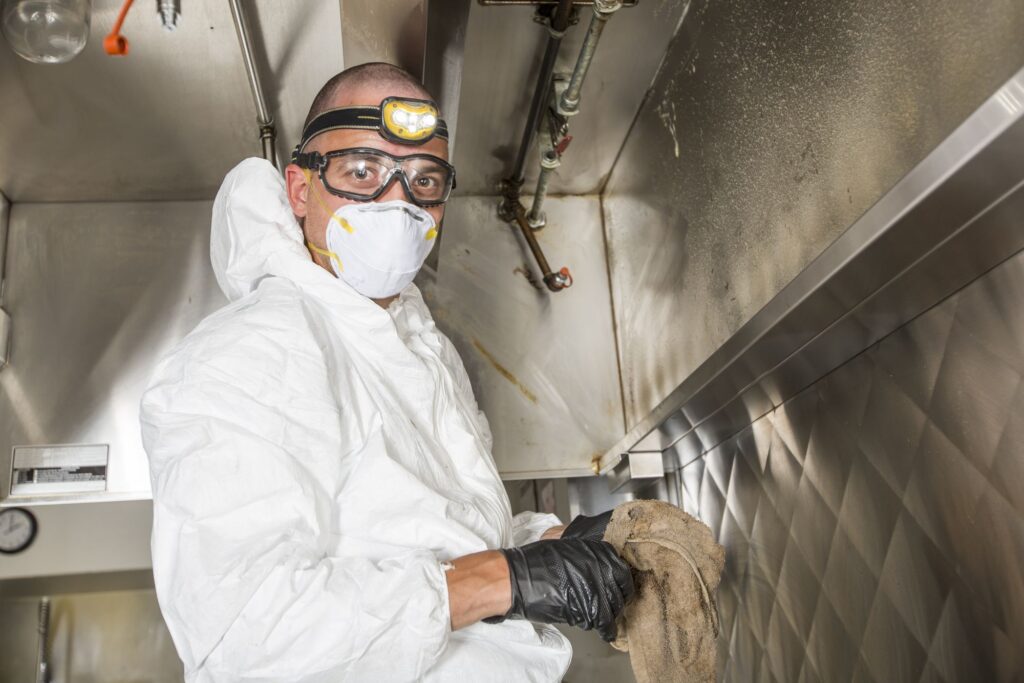
You can rely on our skilled professionals to clean your kitchen hood using the most cutting-edge technology available in the market today. In addition, we have the industrial wastewater treatment technology that is least harmful to the environment that is now available. In addition to using environmentally friendly cleaning supplies and equipment, we try to minimize our impact on the environment by driving vehicles that are powered by ecologically friendly fuels.
|
Tell me the NFPA standard 96?The National Fire Protection Association (NFPA) 96 provides fire safety guidelines for prevention and operation that are intended to cut down on the risk of fires occurring in commercial kitchens, both public and private. The NFPA 96 standard was developed for equipment used in commercial kitchens. This standard applies to kitchen roof hoods and canopies, as well as ductwork and air conditioning systems.
In the event that the company does not comply with these requirements, it may be required to close its restaurant, which might result in an increase in the overall cost of ownership. Fires caused by the accumulation of grease can result in significant property damage, as well as death or even permanent injury. |
What is commercial kitchen exhaust cleaning?
|
The process of cleaning kitchen exhaust systems (also known as cleaning kitchen hoods) involves removing grease that has accumulated inside the ducts, hoods, fans, and vents of industrial kitchen exhaust systems. The maintenance of exhaust is the most significant challenge confronted by the majority of commercial enterprises. It is possible for a kitchen exhaust system to become a significant fire hazard if it is not cleaned regularly.
Exhaust systems need to be evaluated on a regular basis to assess whether or not they require cleaning before a potentially hazardous amount of grease buildup. Cleaning the exhaust hood of a commercial kitchen on a regular schedule is an essential maintenance task. If you do not keep up with its maintenance, the entire system in your kitchen could potentially cause fires and other safety hazards. Additionally, this might result in substantial penalties or fines. |
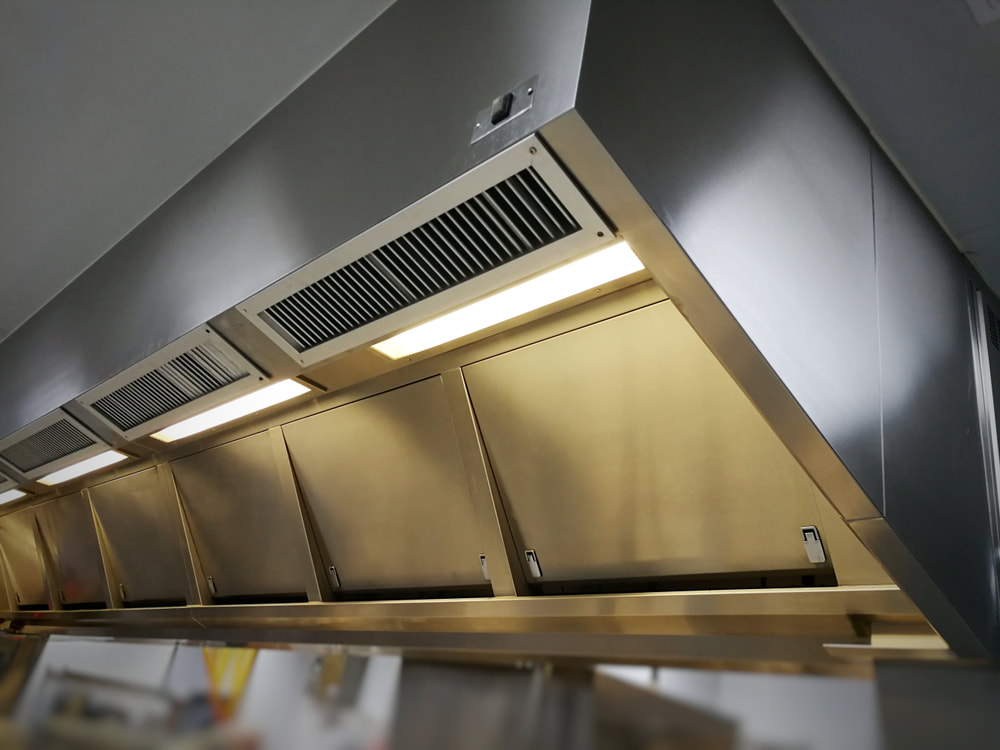
Maintenance of stainless steel commercial, industrial and institutional range and oven hoods is essentialWith the help of our company, we can keep your doors open. Our specialists go through the training required to efficiently carry out the service responsibilities they have been assigned. With the help of our skilled team, you will be able to keep your kitchen spotless and in pristine condition at all times. If you have to contact multiple service providers in order to fulfill the requirements of your commercial kitchen cleaning business, the buck stops here. Because we offer a wide variety of commercial cleaning services, we are able to take care of everything.
We ensure that your equipment is safe and clean for continuous use so that you can continue to use it as needed without any interruptions. This makes it possible for you to use your kitchen equipment as long as necessary. |
Why do people choose us?
|
The members of our cleaning crew are continuously hard at work to guarantee that the service we provide is of the highest possible quality and scope. Every one of our customers achieves results that are far beyond their expectations. Every type of company has its own unique sanitation requirements. We take care of determining the specifics of your situation, which enables us to provide tailor-made solutions for every project. We will tailor a cleaning service plan to fit your financial constraints. You may depend on the cleaning services provided by our company to deliver unparalleled levels of cleanliness.
|
Frequently Asked Questions about Kitchen Exhaust Cleaning Company
How much does it cost to clean your exhaust?
How do you clean kitchen exhaust?
How do you clean kitchen exhaust?
The task of cleaning the exhaust from a kitchen is not as challenging as it may appear. It just requires a little bit of patience and the following few easy steps:
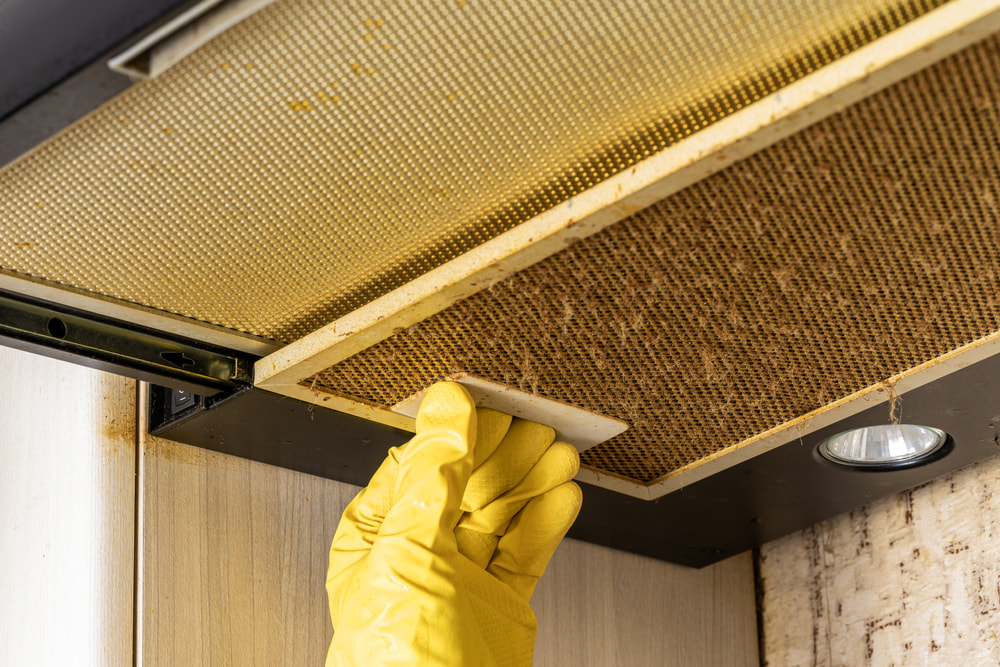
1. Remove the grease filter
To begin, make certain that the exhaust fan is unplugged. In the event that there is an electrical surge while you are contacting the fan and removing or replacing the filter, this shields you from the effects of the surge.
2. Place it in a large pan or container
Place it in a large pan or container After the grease filter has been carefully removed, place it in a large pan or container to store it. Be sure that the container you choose has a depth that will allow the filter to be completely submerged on all sides. A sheet pan or a plastic bin, for instance, might be the ideal container for you to use. A word of caution: once you begin cleaning the filter, the pan or container will quickly get extremely soiled.
3. Prepare a cleaning solution
When the grease filter has been positioned inside of the huge pan or container, it is time to begin the process of putting together the cleaning solution for the kitchen exhaust.
4. Clean the filter
The next step is to thoroughly clean the filter! Take a little less than a cup of the cleaning solution and pour it into the dish or pan that is housing the filter. Continue to apply the solution for cleaning the kitchen exhaust fan one cup at a time until the filter is completely covered by the solution.
Allow the cleaning solution to sit for 15–30 minutes so that it can dissolve as much grease and filth as it can. After that, start scrubbing the filter as thoroughly as possible with a sponge or bristle brush. It should not be difficult to remove the grease. If this is the case, allow it to soak in the cleaning solution for a longer period of time.
5. Let the air filter dry
When you are cleaning and rinsing the filter, lay it out on a towel and let it air dry until it is totally dry (approximately 2 hours). Because of the potential for danger, it is essential to make sure that the filter has been completely dried up before it is reinstalled. After the filter has been restored, there should be no trace of moisture, as this can cause electrical problems.
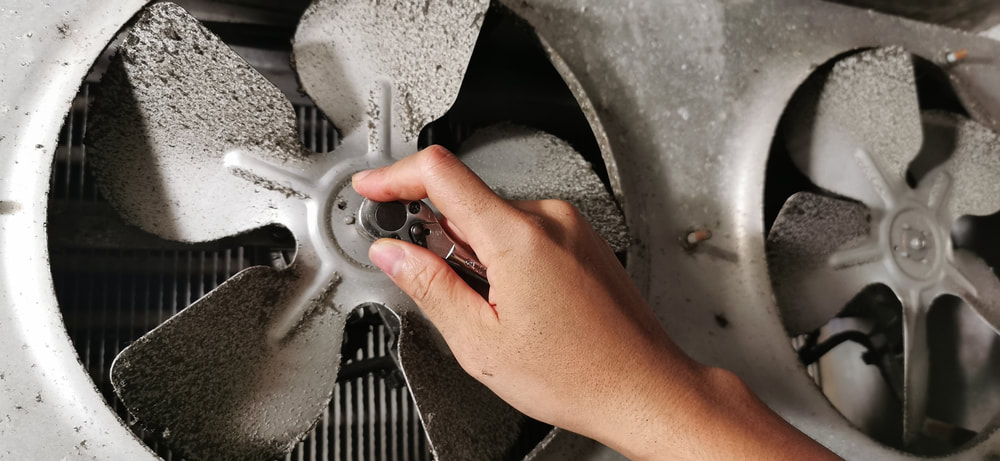
6. Clean exhaust fan
You should clean the exhaust fan itself while you are waiting for the filter to finish drying. To accomplish this, clean grease spots carefully using a cloth or sponge that has been dampened. Avoid spraying any chemicals straight onto the surface of it. Your exhaust fan's lifespan will be impacted if it is exposed to an excessive amount of moisture, which can lead to an electrical fault of the inner components.
7. Re-insert the filter
When both the grease filter and the kitchen exhaust fan have been thoroughly cleaned, the filter can then be re-installed. Just put it back in the exact same way that it came out, making sure to rehook the latches and fully secure it. Then, you can plug the unit back in and use it like normal.
How often should you clean kitchen exhaust?
It is recommended that a kitchen hood be cleaned once every three months as a general rule, but the frequency of cleaning can vary depending on a number of factors that our specialists can help you determine. Some business and restaurant exhaust systems, specifically those that are used with stoves that burn wood or charcoal, have to be examined and cleaned on a monthly basis.
How do you get grease off kitchen exhaust?
Hot water, dish soap, and baking soda should be mixed together in the sink basin. Spend fifteen to twenty minutes immersing the filter in the cleaning solution. Start scrubbing away the grease and grime that has become more loose using the same cleaning brush you were using before. Keep cleaning the grease filter in the range hood until it is completely clean.


